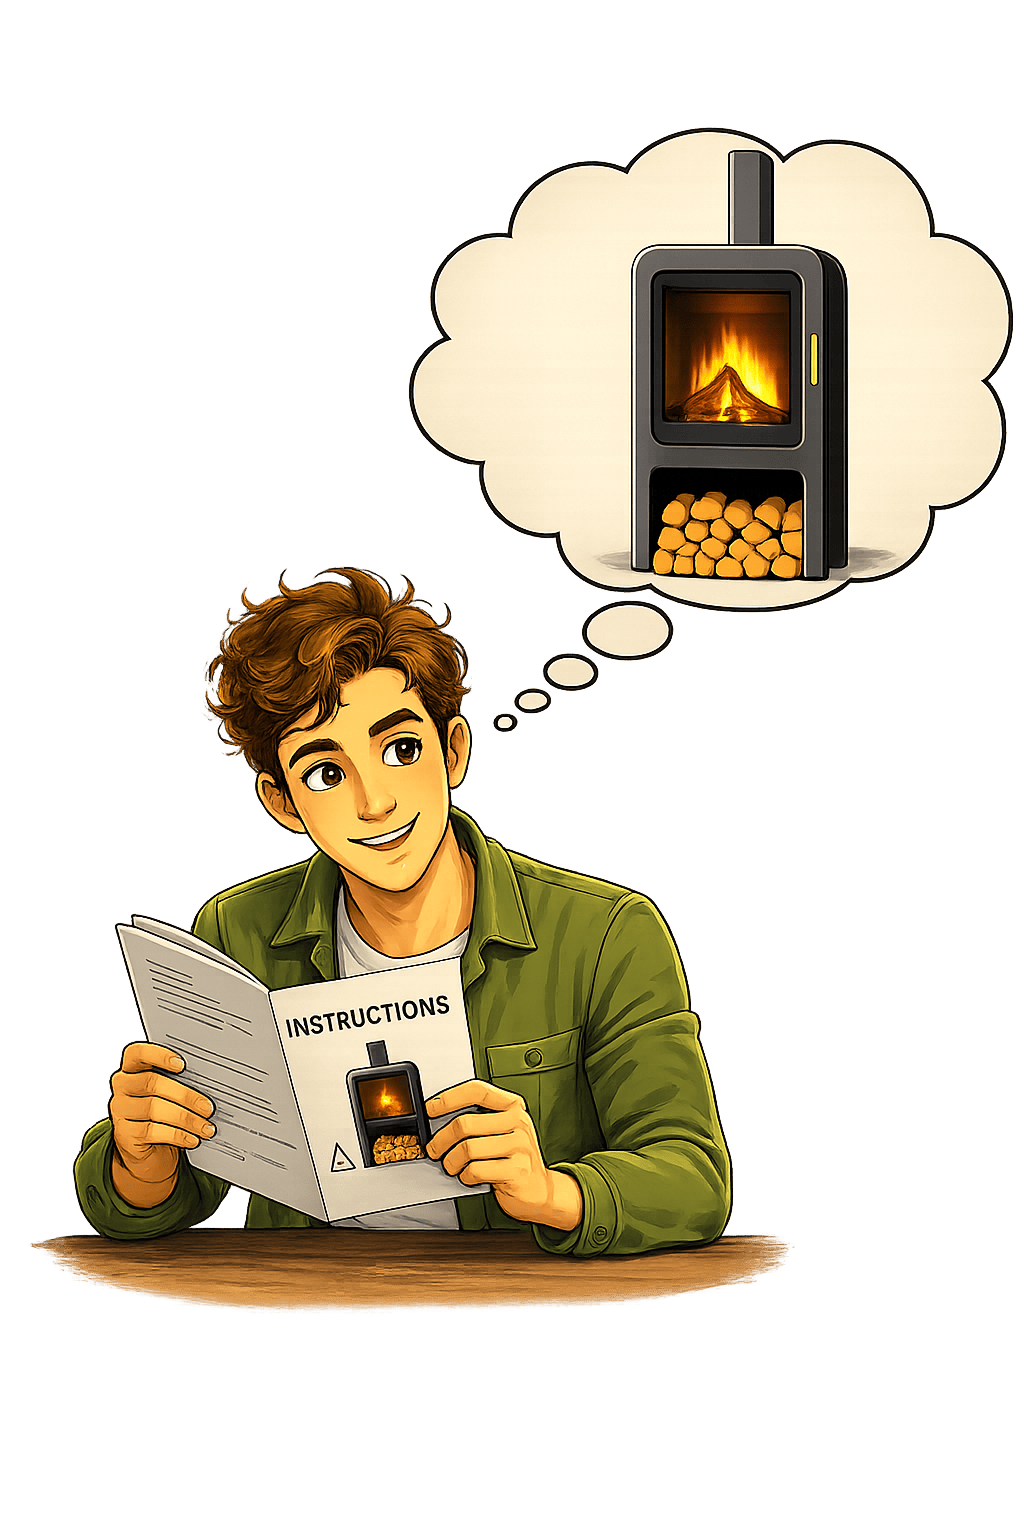
Here is our installation process
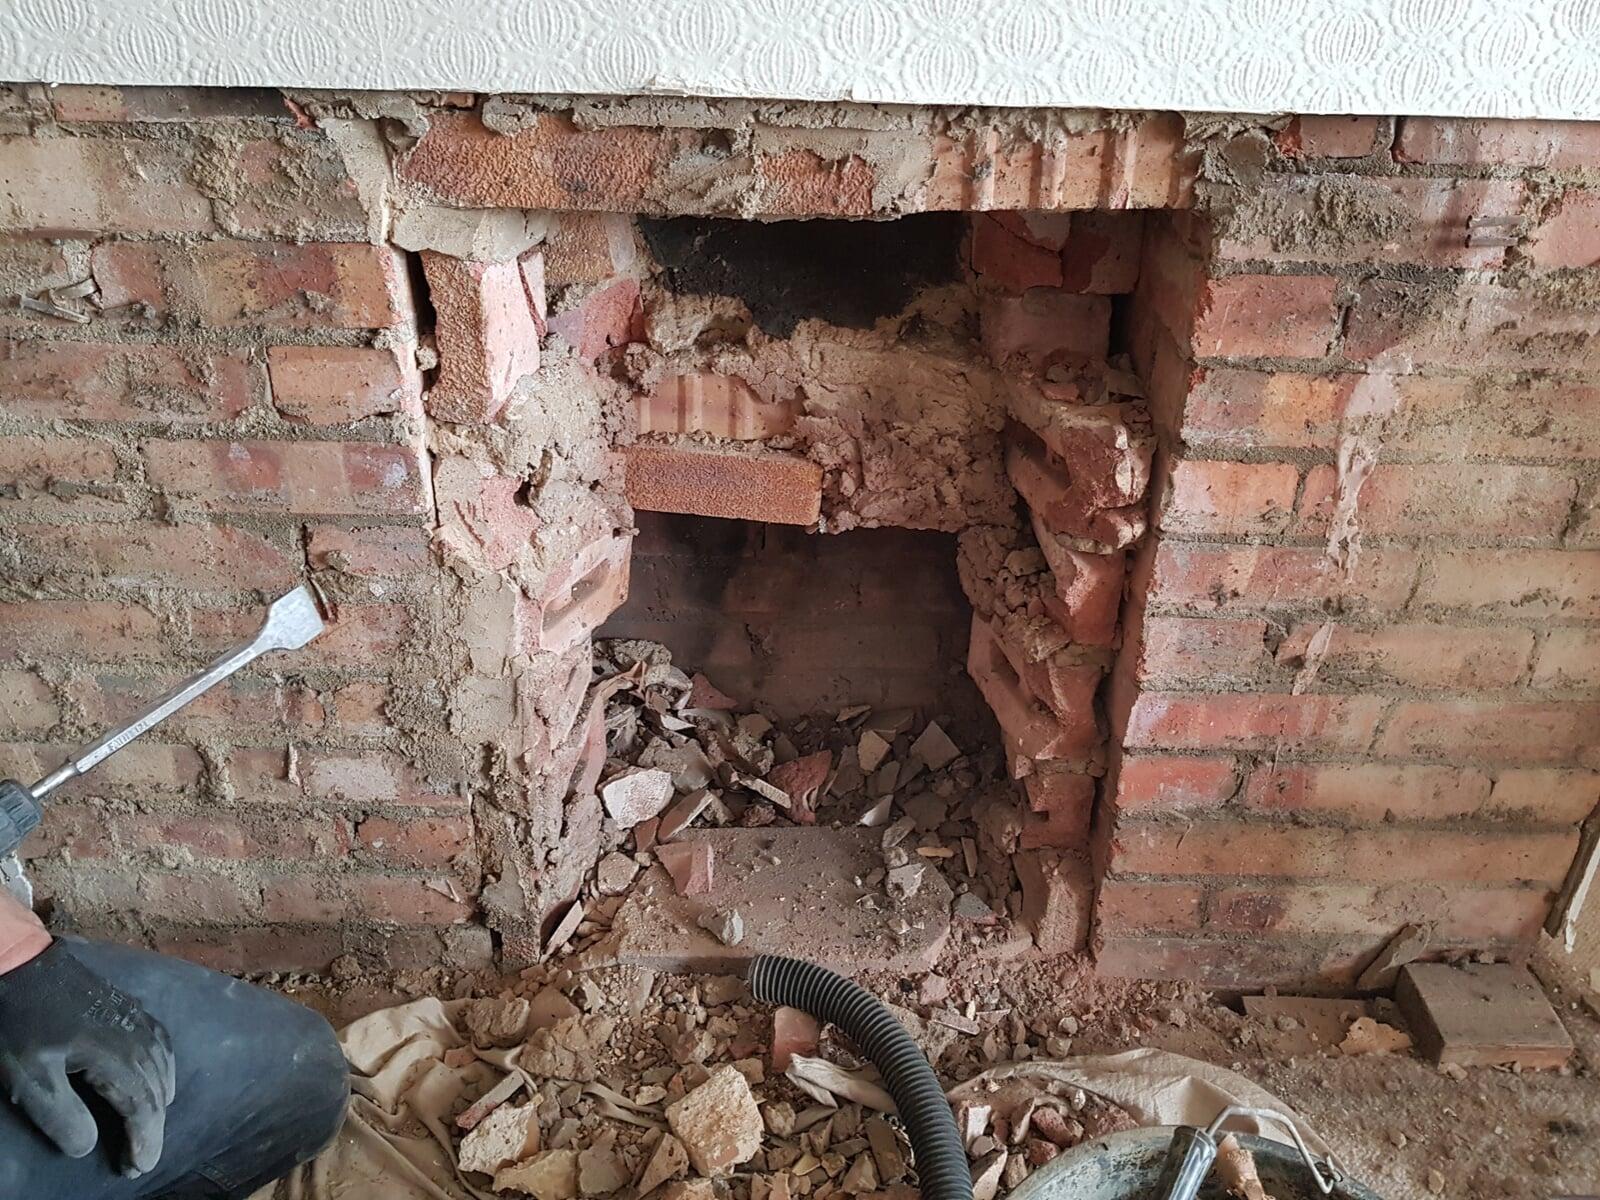
1. Excavation / Preparation
2. Protecting The Floor
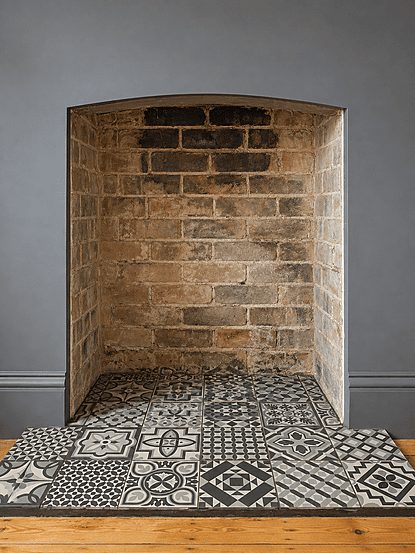
You will need a hearth which is the part of the fireplace underneath the stove and directly in front of it. It's purpose is to catch any hot debris that may fall out of the wood burner, thus protecting any flooring or carpet and potentially stop a house fire.
In traditional fireplaces the hearth will be in two pieces. One to fit in the recess under the stove and a larger one that protrudes into the room. Your hearth will be made bespokely to order, and will be ready for your second visit ( if required ). T-shaped hearths are not recommended due to the stress on the material caused by the weight of the woodburner at high temperatures.
A hearth is required by law unless the surface that the stove is sitting on already meets building regulations hearth requirements. Suitable materials for hearths are granite, slate, stone, glass and precast concrete.
Sustainable option : Re-purpose some garden slabs for a rustic look or use an old granite worktop from the kitchen and use a stonemason to cut to size. We recommend The Blue Pearl Granite Company in Newnham. If buying new, order slate with a low carbon footprint that was quarried in the UK or use 'green' concrete slabs, which are manufactured in a more sustainable way.
3. Get ready for installation
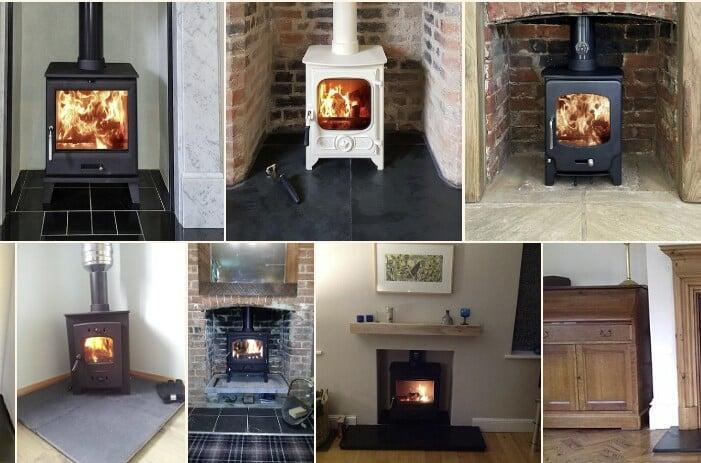
Before fitting the burner, you need to think about how you will finish off the firebox chamber. If the brick work looks good once uncovered then it can be left for a rustic look. It could also be rendered (ready for painting), heat-proof tiles fitted, boarded with fireproof board or a 'fake' brick or slate chamber or board could be fitted. Take a look at our other services page for examples of these.
The chamber will need to dry after being rendered before it is ready to be painted with a watered down paint known as a mist coat to match the room. The walls at the sides can be finished in the same way, or covered by slips (see below). Drying or curing can take one day to a week, depending on the time of year and room temperature. The main options are bare bricks, render, brick boards, vermiculite boards, Vlaze heat shields and tiles.
Sustainable option : Use the original brickwork or ask for lime render to be used, this is classed as a Carbon-Neutral product as it absorbs Carbon Dioxide in the drying process. Use environmentally friendly paint to paint the woodburner chamber.
3. Install the liner
Next install the liner into the chimney from the roof. It is held in place by a cowl. 316/316 liner is recommended for wood burners,
316/904 and 904/904 liner for multifuel stoves burning coal.
We only use flexible liner made in the UK. Our twin wall is imported from Spain.
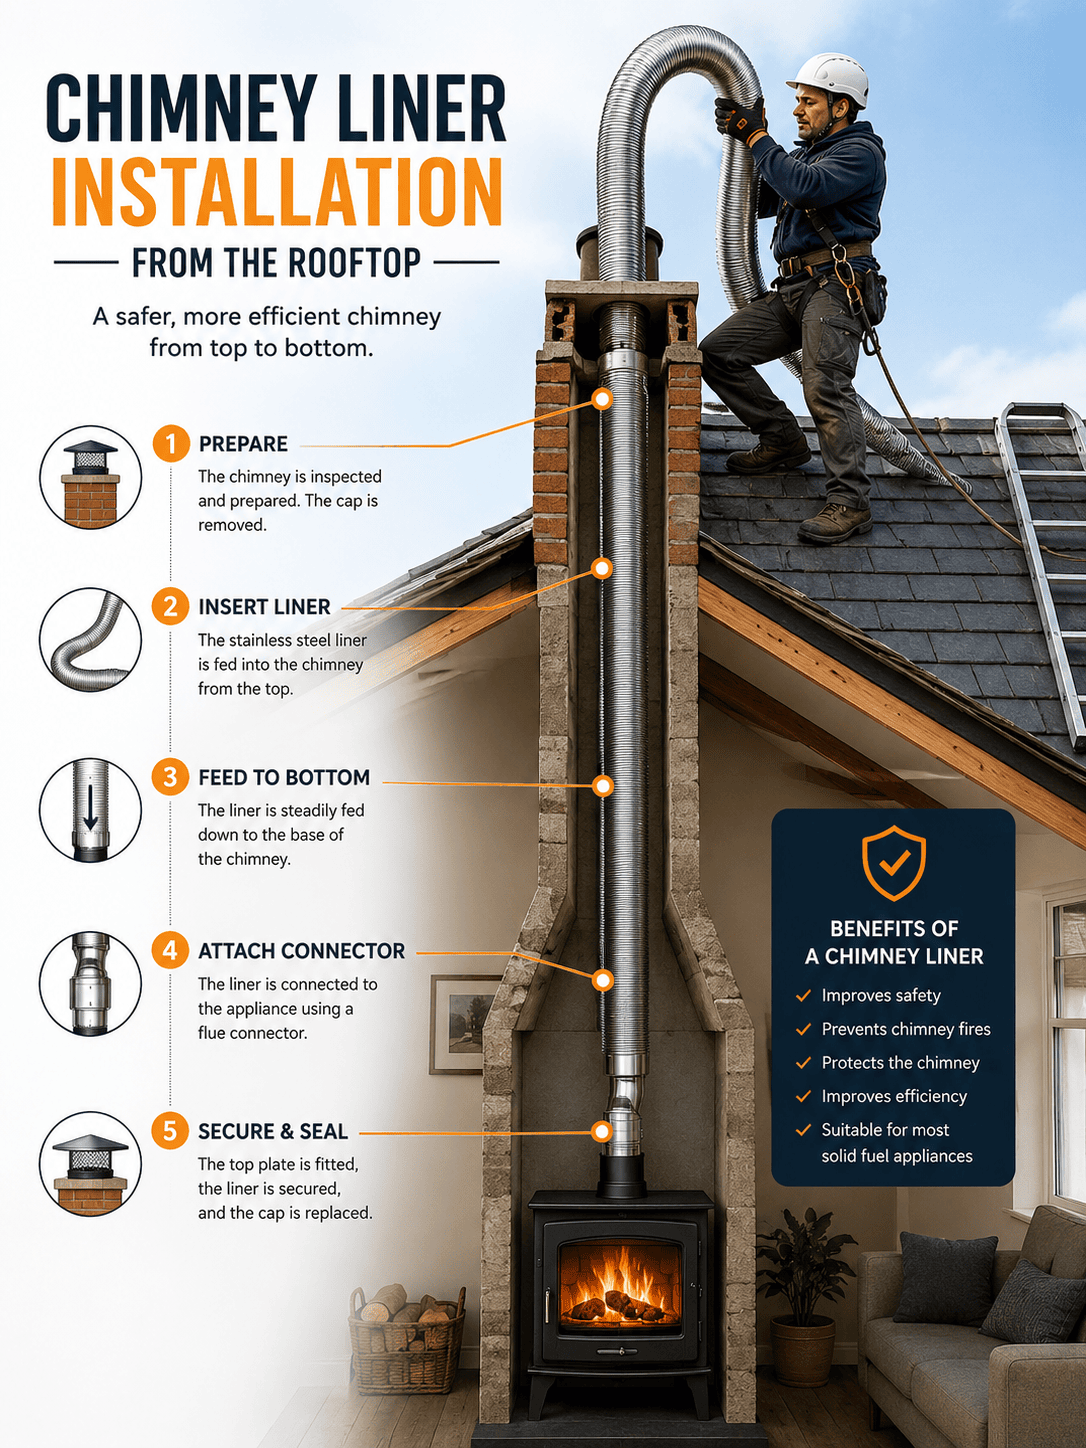
4. Close off the chimney
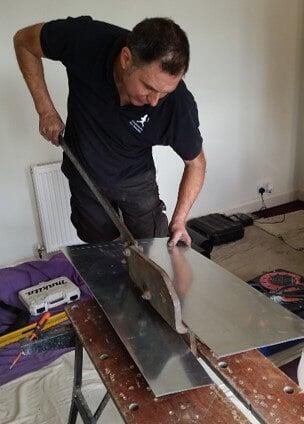
We then fabricate a bespoke register plate to close off the bottom of your chimney. Sometimes known as closure plate. Made out of UK galvanised steel.
Required by building regulations (Document J)
5. Install the burner
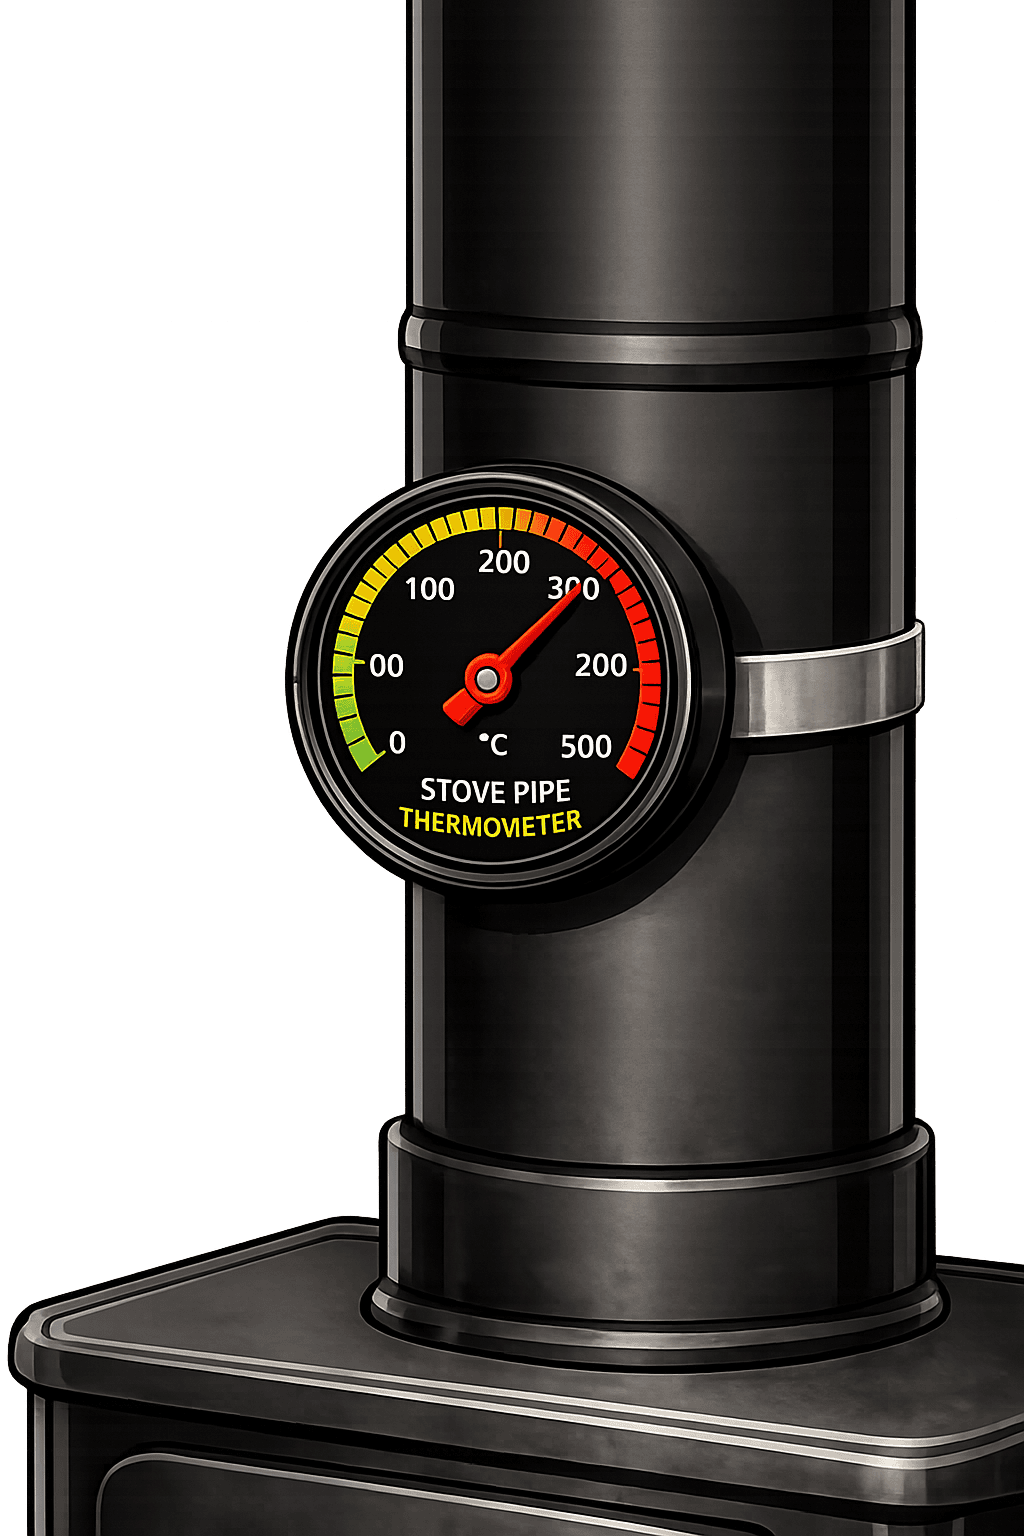
Fit the thermometer and fit and test the installation Carbon monoxide alarm (legal requirement).